Showing posts with label Top. Show all posts

Monday, 1 January 2018

Favourite Things Top: Ruffle Sleeve Noelle

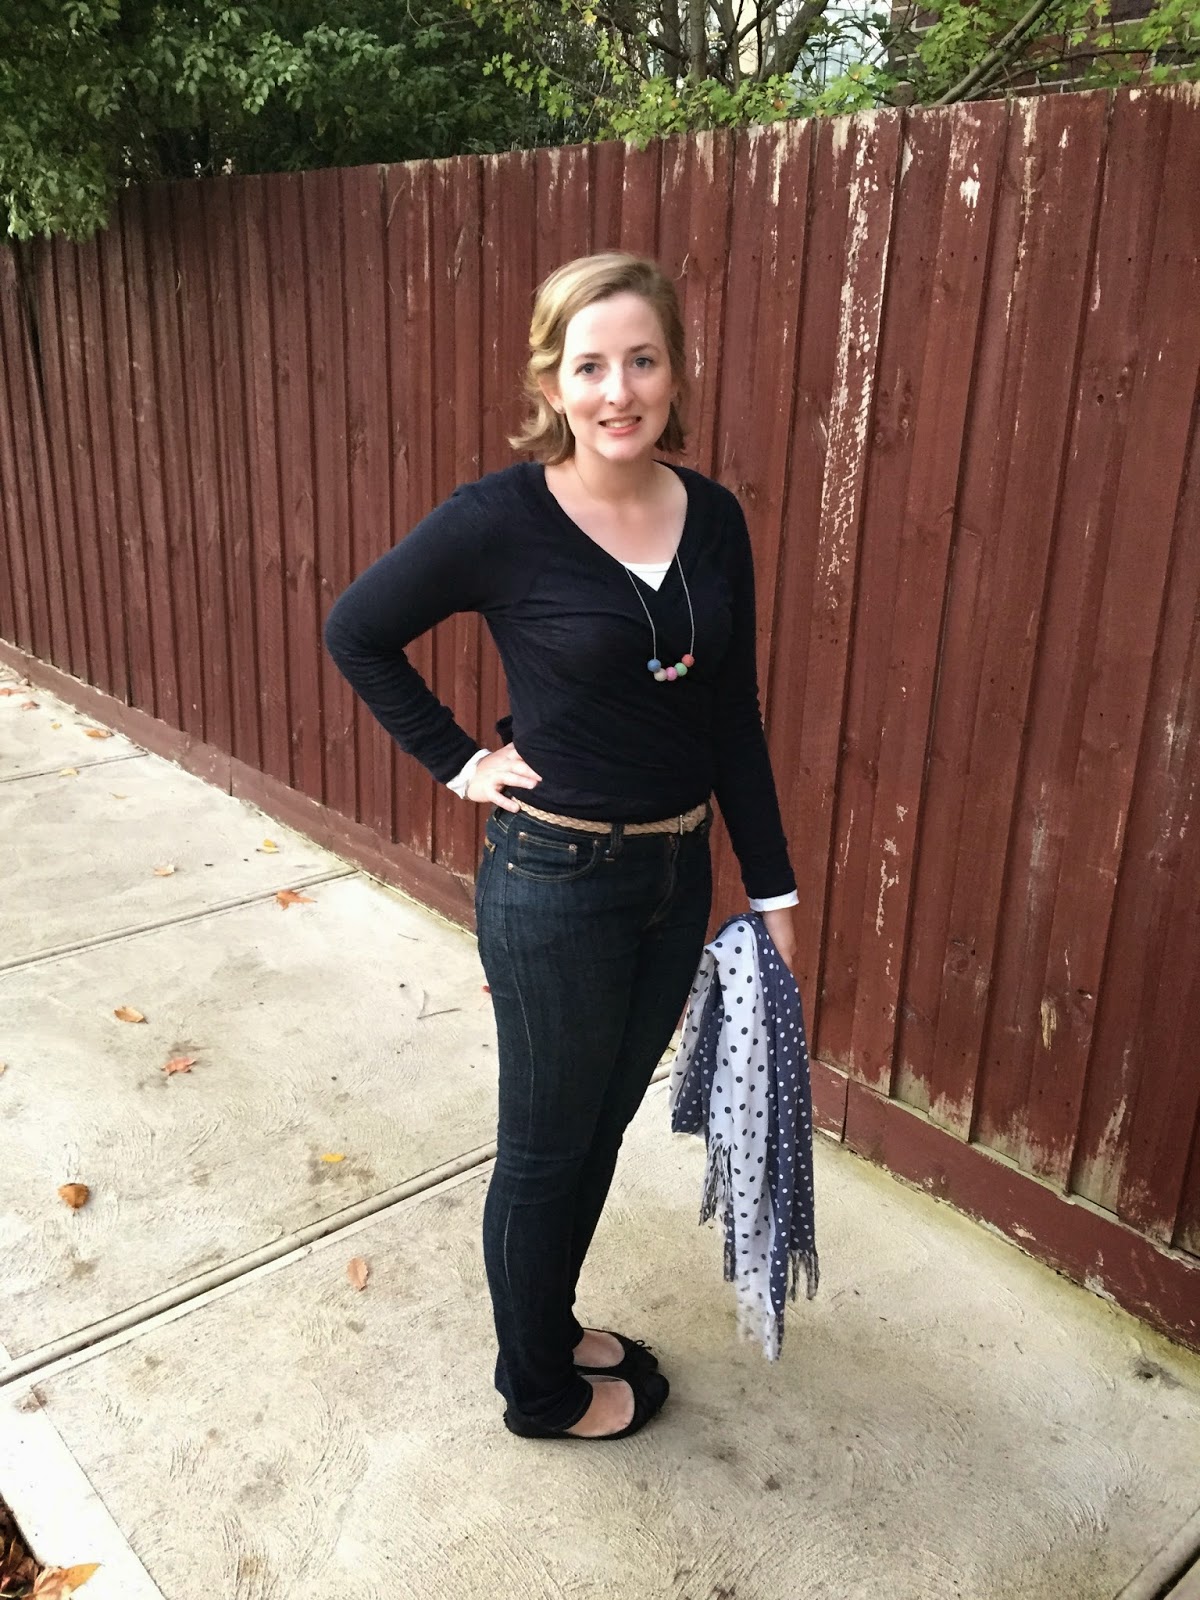
There were several more makes for 2017 that I'll (maybe) blog another time. This is my very last make of 2017. Finished just in time to wear for a relaxing New Years Eve with Tim. Featuring spots, ruffles and navy fabric, this is definitely my "Favourite Things" top!


My sister and I saw some fabulous linen tops and dresses with ruffle sleeves being sold at a local market recently. We fell in love, but, as all too common for us, didn't make the purchase and later regretted it. I searched for the designer online and at the same market a month later but haven't come across the tops/dresses again. This top is inspired by the one that got away. 


I started with the Ulooop Noelle Top pattern (sewn previously: V1, V2). The Noelle pattern is an incredibly simple (but effective) design: boxy top, dropped sleeves, no closures, bias bound neckline. My first version was very cropped (with nearly no allowance for then hem) and roomy in the front bodice. For this version I made the following mods: 
- Added 1.5" to length and removed curved front and back hem. 
- Removed 1.25" width from the centre front of front bodice piece. There is still plenty of room to get the top on and off without an added closure. But, the neckline sits more comfortably now and I'm less swamped by the fabric. 
- Used a wide 1.5" hem and included 2" slits at either side seam. 
- Cut 5" (including seam allowance) wide ruffles, twice the length of the sleeve opening. Overlocked and hemmed outer and side edges and attached the ruffle to the sleeve opening.


The fabric is a gorgeous Japanese linen blend (?) from The Cloth Shop. Its a dark navy with lighter shades throughout and an off-white polka dot pattern. This fabric is what my dreams are made of!


I've really happy with how the top turned out, and I feel great in it!  I'd like to make one or two more in block coloured linen fabrics. But, I find it difficult to look past beautiful blues. My motto is, of course, all the things in blue! This makes it difficult to pair tops and bottoms together without looking too matchy matchy. Not to mention, also heavily matching with Tim's navy dominated wardrobe.  Perhaps I'll start slowly with a few white and black items in 2018. 
                                       

Tessuti: Spotty Alice Top

The Tessuti Alice Top pattern is one on my most sewn and worn items.  I previously sewn two for myself (V1, V2), and the first version I made in 2014 is still on high wardrobe rotation! I've also sewn two for some special women in my life (V3, V4). I know I'll continue to sew and wear this pattern for years to come!


This Alice is made from a transparent white and black polka dot cheese cloth fabric recycled from summer maxi dress a friend gave me.  It's wonderful when friends and family see potential in an old piece of clothing and generously donate the fabric to me.


I lined the upper bodice in off-white cotton I had on hand. I added an extra  few inches of width to the lower bodice front and back in the hopes that the extra fabric would reduce its transparency. No luck, so I typically wear the top over a cami.  I like the look of my Alice tops tucked loosely into my jeans or shorts. The fabric stays lovely and flowy (so I can eat all the things!), but I find the cinched in look a bit less overwhelming. 


I've been reaching for this top a lot this summer! Note, when berry picking the Alice top does not provide adequate coverage to avoid sunburn or thorns.

Saturday, 29 April 2017

Peppermint Patterns Peplum Tops

In 2014 I set myself a goal to review 12 free patterns over the year. I still have a penchant for sewing on the cheap by using free patterns, refashioning and using scrap fabrics. There are some excellent free patterns available online. In particular, I love the selection on Peppermint Mag, including the Peplum Top Pattern


I've sewn two of these tops. The pattern is easy to follow with no darts of closures. Smoothing the bias binding flat is a little tricky. Especially at the back v neckline. 

This is a  great pattern to use up fabric remnants. The peplum flounce uses quite a bit of fabric, but I found that I didn't need it to be as full as the patterns asks for. The flounce on the black version is about 1/3 short. The floral version is a cotton silk remnant I had left over from this dress. The black spotty silk version i refashioned from this skirt. I found the skirt frumpy. The fabric was too good to be wasted on something I rarely wore.

I love the boxy cropped style of the top and the deep V back neckline. The top is incredibly comfy and goes well with my high waisted skirts and jeans. It's tricky to see, but in the photo below I'm wearing the top over a long-sleeved tee. Yay, for versatile clothes! This is a fantastic free offering and I absolutely recommend it.

I don't have many photos wearing these tops- strange, given I wear them all the time! These two photos are from this weekend. Tim and I stayed in the city to celebrate our wedding anniversary. 

Monday, 29 June 2015

Scrappy Spotty Alice Top

In preparation for Vietnam, and while avoiding more time intensive winter sewing, I made another Alice top. There's not much to say this time round. See my frst, and the two I made for family here (1,2).


This time round I made the XS, but shortened the hem by 2" as the previous versions were long. Otherwise I didn't make any changes to the pattern or instructions.


I made this scrappy spotty version using various fabrics left over from other projects. I used white and blue cotton voile for the back skirt and front yoke; navy and white large spot silk crepe for the back bodice and sleeves and the small navy and white spot for front skirt. I used all these fabrics previously when sewing tops for my sister.  I lined the the front bodice pieces with a scrap of white cotton/silk blend and the back bodice with the Navy cotton with small white spots.


I wore this top heaps in Vietnam. The breezy lightweight fabric was perfect in the heat and it went really well with my denim Tap shorts. The Alice Top is a great pattern to use up scraps. 


Saturday, 16 May 2015

Blue Merino Coppelia Cardi

My pink and black Papercut Patterns Coppelia Cardigans have got to be some of the most worn garments in my cupboard. I wear cropped cardigans a lot and their neutral tones are perfect for just about every occasion. Unfortunately my pink merino cardi has a few holes (which I'll sew up) and the cheap black fabric has pilled.


I bought some ribbed navy merino from The Cloth Shop with plans to sew another Coppelia in the hopes that more will mean extending the life of all of them. This fabric is a gorgeous colour, lightweight and stretchy. In fact it may be a little too stretchy, lacking the recovery needed for a tight fitting wrap around cardi. I'm just going to have to be extra careful not to stretch it out.


I once again made a size XS upped bodice/Sm waist. While it is cropped, this pattern still uses up quite a bit of fabric with the long wrap around ties and front bodice ribbing.  


I made the cardi almost completely on my overlocker. I following the instructions with two exceptions: 1) I didn't leave a space in the bodice side seams to pull the wrap ties through as I never use the hole on my pink cardi. 2) I attached the hem wrap ties differently so as to avoid having to use the sewing machine as much as possible. I pinned and sewed the ties wrong sides out after folding the cardi inside the ties as much as possible. I left a small gap at the centre back to pull the cardi right side out and attached this section using the sewing machine. It's a bit difficult to explain, but Sophie has a photo tutorial which shows something very similar (steps 6,7,8).


Nothing more to say, other than that I'm glad to add another Coppelia Cardy to my wardrobe and there's always room for more. I couldn't be more in love with this pattern and absolutely recommend it to others who like cropped cardigans. 

Sunday, 10 May 2015

Refashioned Merino Bonnie Jumper

Tim wears these Country Road Merino jumpers over work shirts in various neutral colours. He has a stack of them and I regularly sew up holes in the elbows for him. The fabric is great quality but quite thin. His dark grey jumper had a hole in the elbow but also around the neckline so he decided to replace it and I claimed the holey jumper for myself!


I used the Bluegingerdoll Bonnie Jumper pattern to refashion a cropped, long sleeve high neck jumper from the old Vneck jumper. I was able to cut around the neckline holes but I did darn up the elbow hole. I also reinforced the holey area with some black lightweight interfacing.


I cut the pattern pieces so the old ribbed bodice and sleeve hem could be selvedge. I took 1" of the bodice pattern as I like the Bonnie jumper a little more cropped and then aligned the bottom of the bodice pattern pieces (where you'd attach the ribbing/waistband) just above the ribbed hem. Because a cropped jumper uses a lot less fabric than a mens jumper I was also able to cut a strip of fabric to use as the neckline band.


I've made the Bonnie top before, cutting a size 10 grading to a 12 at the waist. This time I cut a straight 10. I loved my first sewn bonnie top but the low neckline makes it less versatile over different style dresses and shirts. I wanted this version to have the high neck so it didn't matter what I was wearing it over. I used Version A for the neckline and bodice length but view C sleeves.  I was able to sew the jumper completely on my overlocker. Not having to hem the sleeves and waistband made this a super quick project.


I really like the fit of this jumper and the cropped length is perfect. However, I find the back neckline sits a little low and I couldn't tell which bodice piece was front and which was back. I sewed the old country road tag into the back neckline to help. I'm going to get plenty of wear out of this jumper and I'm hoping to claim a few more of Tim's jumpers in the future.
  

Sunday, 5 April 2015

Relaxed Plantain

Happy Easter and long weekend! This weekend couldn't come soon enough -it's only a few months post Christmas but I absolutely needed the break. I'm still lacking motivation to sew, so I thought I'd post about a boring basic I made a few weeks back.


This is my first version of the free Deer & Doe Plantain T-shirt which has multiple sleeve length options, a deep scoop neck and is flared at the hips (although, you probably already know this as there are many many versions on the web). I cut a size 38, short sleeved, in some cheap crinkley lightweight jersey from Darn Cheap Fabrics. I used this same fabric to make the free Skirt As Top Scoop Tee in 2013 and it wore pretty badly, but it's fine for a pattern test. 


The pattern comes together really very easily. If you've made a knit top before then there is no need to use the instructions. I made the top completely on my overlocker except for twin needle stitching the hem. For the sleeves I turned the cuffs over twice wrong side out and tacked the cuff up in two places. My sewing machine is really unpredictable with knits so any time I can avoid using I will!


The size 38 fit a little big. I took the side seams in 1/4" but it's still quite spacious. I need to go down a size in the future. I also think the top would be slightly more flattering on me if I brought in the hips just slightly and heightened the scoop neck. However, the pattern is a fantastic basic to start from.


I plan to make some long sleeved versions, along with some renfrews, for winter. With these two basic patterns I'm set for winter basic tops which I pair with sleeveless dresses and tops. My other winter basic is tights. I'd love to try my hand at making my own tights but given my lack of sewing time and inspiration I might just stick with pretty dresses, skirts and tops, and buy my basics. 


Now that I know that I can make pretty much all on my clothes I really struggle to justify buying clothes - especially basics. Do others have this same problem? How do you justify buying clothes instead of making them?

Sunday, 8 March 2015

Simplicity 1544: Short Sleeve Shirt for Tim

After making Tim three Negroni's, two of which I hacked to include a collar stand and button plackets, it was time to try a different pattern. Hopefully one that "had it all".


The Simplicity 1544 shirt has pockets, back yokes, collar and stand, button plackets and placket cuffs. But I'd bought some gorgeous shirting from Tessuti with a short sleeves shirt in mind so I needed to make a shorter sleeve. Unsurprisingly, creating a short sleeve is 100% easier than hacking button plackets and collar bands etc. Phew! I simply measured the Negroni short sleeve and marked it on the Simplicity sleeve pattern.


I made a muslin from some yucky poly striped fabric that made Tim look like he stole the Banana's In Pajamas shirt. This was my first time making a muslin that I didn't hope to make wearable. It was incredibly liberating being able to make something up so fast and with so little care for the finishing's. No finished seams, clipped curves, or pretty top stitching here. It took me just 45 minutes to sew it up! 


From the muslin we decided that the fit was fine except for needing to take a small amount of width from the sleeve and shortening it a lot. I took 4" off the Negroni sleeve length, created a 1" hem, and then folded it outward 1" and tacked it down to create a cuff look. I also took 1/4" from the sleeve width grading to nothing at the shoulders. The only other changes I made were to omit the yoke tab, and additional country style top stitching.


The fit of this shirt is definitely a looser around the torso than the Negroni Shirts but that's fine for casual summer shirt. For a more formal or business wear shirt you could easily add some back darts where most of the excess room is. Next time I make the shirt, probably a long sleeve, I'll fold out a little more width in the sleeves as well.


The instructions were reasonably clear and easy to follow. There's no suggestion to flat fell the seams. Instead the instructions have you overclock the edges of the shoulder seams and then turn them inside for top stitching. I also did this down the sleeve and side seams.  


The collar stand and collar are sewn on very similar to the Archer shirt, but the button bands are both wide separate pattern pieces that are interfaced, attached to the body,  folded inwards and then top stitched down. The hem is created before the button band and then the band bottoms are sewn wrong sides out and then turned inwards so that they are even with the hem. I quite liked this process but they do create very thick button bands.


I absolutely loved working with this fabric. It was sturdy and forgiving. The button holes and top stitching went in like a dream. Summer is officially over but I hope we have a few warm days left so that Tim has the chance to wear his new shirt and I can get some more wear out of all the dresses!

Wednesday, 25 February 2015

Simplicity 2154 Pussy Bow Blouse

I really like the Pussy Bow Blouse look. Strangely I've only made one bow blouse before - Gertie's bow tie blouse. I wear that blouse a bit but can sometimes find it restrictive around my neck so I liked the idea of trying out a pattern with a lower neckline. I bought Simplicity 2154 in a spotty sale, sold on the idea of getting a cardigan and a skirt in the same pattern envelope.


I cut the pattern in a size 12 from a stunning Black cotton voile from The Cloth Shop which has a pattern woven through it. I love the fabric, it's interesting while still being a solid colour. I really need more solid colour tops to wear with patterned skirts.


The instructions were reasonably easy to follow, but there were quite a few more steps than I expected and it ended up taking a couple of afternoons to sew up. The facings are bias tape which is sewn over, and under, the collar. The thickness around the neck does make the collar and bow sit a bit chunkily, despite trimming and clipping into the neck seam.


I used a normal, non-lapped invisible zip purely because I'm more comfortable with this style. I do aim to to sew some lapped zipper this year, though.


The instructions state to add a button and thread loop but no detail is provided on how to make the loop. I used a tutorial Tessuti recently posted to make the button loop; the video is fantastic! I will definitely be making more button loops in the future. Tiny hook and eyes at the back neckline can some times be a nuisance to open and close, and I often need a hand from Tim. 


Note that the bow is not a self-tie bow. It is gathered at the centre and then sewn on. I found it very difficult to gather up the bow and ended up doing this with a hand needle and thread. The thickness around the bow and neckline can be tricky to handle. 


The fit is slightly off, but not enough to bother me. There's room to go down a size all over next time, but I do like the comfort of the larger fit. I think the top looks good untucked with pants too.


This pattern has been made up a lot in the sewing blog world, and I'm not surprised. It's a fun, no-fuss blouse to wear. I will get heaps of wear out of this one and may make another in the future in a different colour. Perhaps white. I wore it work on Monday with my pocketless cord V1247. I would also like to make a few more of these skirts for myself before winter as they are great with tights.

Thursday, 29 January 2015

Another Shirt For Tim: Negroni Archer Hack #2

Another shirt for Tim. I cut this one out ages ago after seeing a man on a tram wearing a similar black and white gingham contrast shirt.


I again used my hacked Negroni Archer pattern pieces. See this post for more details on that. I made one further mod by taking out a further 1/2"of fabric from the width of each sleeve and the fit is better in this shirt than the previous versions.


I made a few mistakes at the time of cutting out. I some how cut the front bodice pieces with a thinner centre front. To solve this issue I used tiny seam allowances and cut slightly wider button plackets. Thankfully, it doesnt seem to have affected the fit. 


When attaching the collar I found that the collar stand was a good half an inch larger than it should have been. I had absolutely no spare fabric so I eased those collar stands in like crazy. You can't really tell from the outside but the centre back inside is a mess! By this time I considered binning the shirt but Tim convinced me that some of his RTW shirts have wrinkly collar stands from excess fabric and that it really didn't look that bad.


I used the contrasting fabric for the back yoke, inner collar stand, button placket, cuff placket and cuff facings. Because this shirt was looking to be on the dodgy side I simply faux felled the seams by sewing the seam allowance, overlocking the edges and top stitching them to one side at the side and sleeve seams.  I don't regret this, it still looks nice inside and out. 


The final shirt fit great and you can't see any of my terrible mistakes. The fabric contrast is really fun but still professional enough for work.


The Negroni bodice really fits Tim very well but I'm keen to try other shirt patterns that don't require as much hacking to get the look he's after. Next up is a Simplicity 1544 with short sleeves. I've even gone to the effort of making a muslin. I have some gorgeous Tessuti shirting I'm going to use for the real thing and after that I might take a little break from men's shirt making.