Showing posts with label Sewaholic. Show all posts

Friday, 24 October 2014

Elephant Cambie Dress

I mentioned ages ago that I promised my sister Gen a Sewaholic Cambie Dress. This promise happened around Christmas time. I made one for myself in June to practice, and I finally got my act together in September so that the dress was ready for her 18th.

Elephant Cambie Dress

For Gen's Cambie I cut a straight size 2 in version A. Gen had chosen a large scale elephant print canvas fabric from Spotty. I didn't bother lining this dress because, well, canvas! The Cambie goes together quite easily and very quickly without lining. I used pre purchased white bias binding to finish the neckline and sleeves.

Elephant Cambie Dress

As the print was quite loud I wanted to use a constrasting fabric to tone it down a little. For the pockets and the waistband I used the wrong side of some denim chambray. I'm really pleased with how the contrast looks.

Elephant Cambie Dress

Elephant Cambie Dress

I didn't muslin the dress so the fit was quite a gamble. I made no alterations other than bringing in the shoulder 1/4" as I expected them to be too loose on her, given that they were on me and a lot of others in the blog world. Before inserting the zipper I got her to try on the dress and wow what a lovely fit!

Elephant Cambie Dress

I didn't make any effort to match the print anywhere. I probably should have matched up the back but chances are I would have stuffed it up anyway.

Elephant Cambie Dress

I must admit that I was pleasantly surprised by this dress. I really didn't think the white and grey giant elephant canvas would translate well into a dress. I was wrong! It looks super duper cute and the shape of the dress skims Gen's body so nicely. Before next winter I plan on making myself a version A Cambie in some lovely grey wool. I'll be stoked if it fits half as well as Gen's.  

Elephant Cambie Dress

Thanks for letting me post photos of you in your elephant Cambie dress Gen, and for bringing some fresh new poses to the blog! Good luck with your exams this week. x

Monday, 7 July 2014

Sewaholic Hollyburn Skirt(s)

I bought my Sewaholic Hollyburn skirt pattern in October last year from Indie Stitches. The skirt is a simple design and much loved by the sewing/blogging community.

Sewaholic Hollyburn Skirt

I made up the Hollyburn pretty much straight away in a fabric which I was drawn to in a pop up fabric store. I couldn't decide whether I was drawn to the fabric because I absolutely loved it or hated it. Turns out, I hated it! Off to the opshop this pink, white, and brown flower Hollyburn goes.

Sewaholic Hollyburn Skirt

I finally got the nerve up to try the pattern again with some herringbone woven thick grey wool for a winter skirt. I cut a size 10, version C with added waistband tabs from version B. I made a simple change to the pocket piece: I cut the pocket pieces along the fold line (with added S/A) and cut the facing part in a contrasting pink patterned rayon and the other half out of the shell wool. I sewed these pieces together down the 'fold line' and then treated them as a single piece.  I love the flash of pink in the pockets of an otherwise plain skirt.

Sewaholic Hollyburn Skirt

The construction of the skirt was simple. I overlocked all the edges to finish and inserted an invisible zip instead of a regular. The wool is very thick so I changed two aspects of construction to avoid sewing through multiple thick layers. 1) I hemmed the skirt with pink bias binding so that I didn't have to fold the hem over twice and create excess bulk. 2) I sewed the waistband tabs on to the waistband before folding under the facing. This made it easier going on my sewing machine. I added some pearlescent white buttons to the tabs.

Sewaholic Hollyburn Skirt

I really like how this Hollyburn turned out! It's one of my rare non-patterned makes so it goes with heaps of my wardrobe, while still being a bit special with the flash of pink in the pockets and on the hem. The fit is spot on. I'd usually make a size 8 in Sewaholic patterns but with such a thick wool, and a skirt which only will be worn in winter (I'm talking winter weight here!), I thought the 10 would be a safer option.

Sewaholic Hollyburn Skirt

Here, I'm wearing the Hollyburn with a my white Renfrew top and pink Coppelia Cardigan. I'll be sure to make more hollyburn's in the future. Especially in winter medium weight fabrics. I like the idea of trying the longer variations but don't think they'd suit me. I think my next version might be a lightweight dark denim with belt loops.

Sewaholic Hollyburn Skirt

Friday, 4 July 2014

Draped Coat & Renfrew Top

I've had the Draped Coat pattern from Teach Me Fashion for some time and I finally got inspired to make it up after a trip to Tessuti with the lovely Deanna I picked up 2m of grey medium weight wool/poly blend, which I knew would be perfect for the coat. How did I know this? Well, it was the same colour as the one in the pattern cover photo - aren't I creative?!

Teach Me Fashion Draped Coat

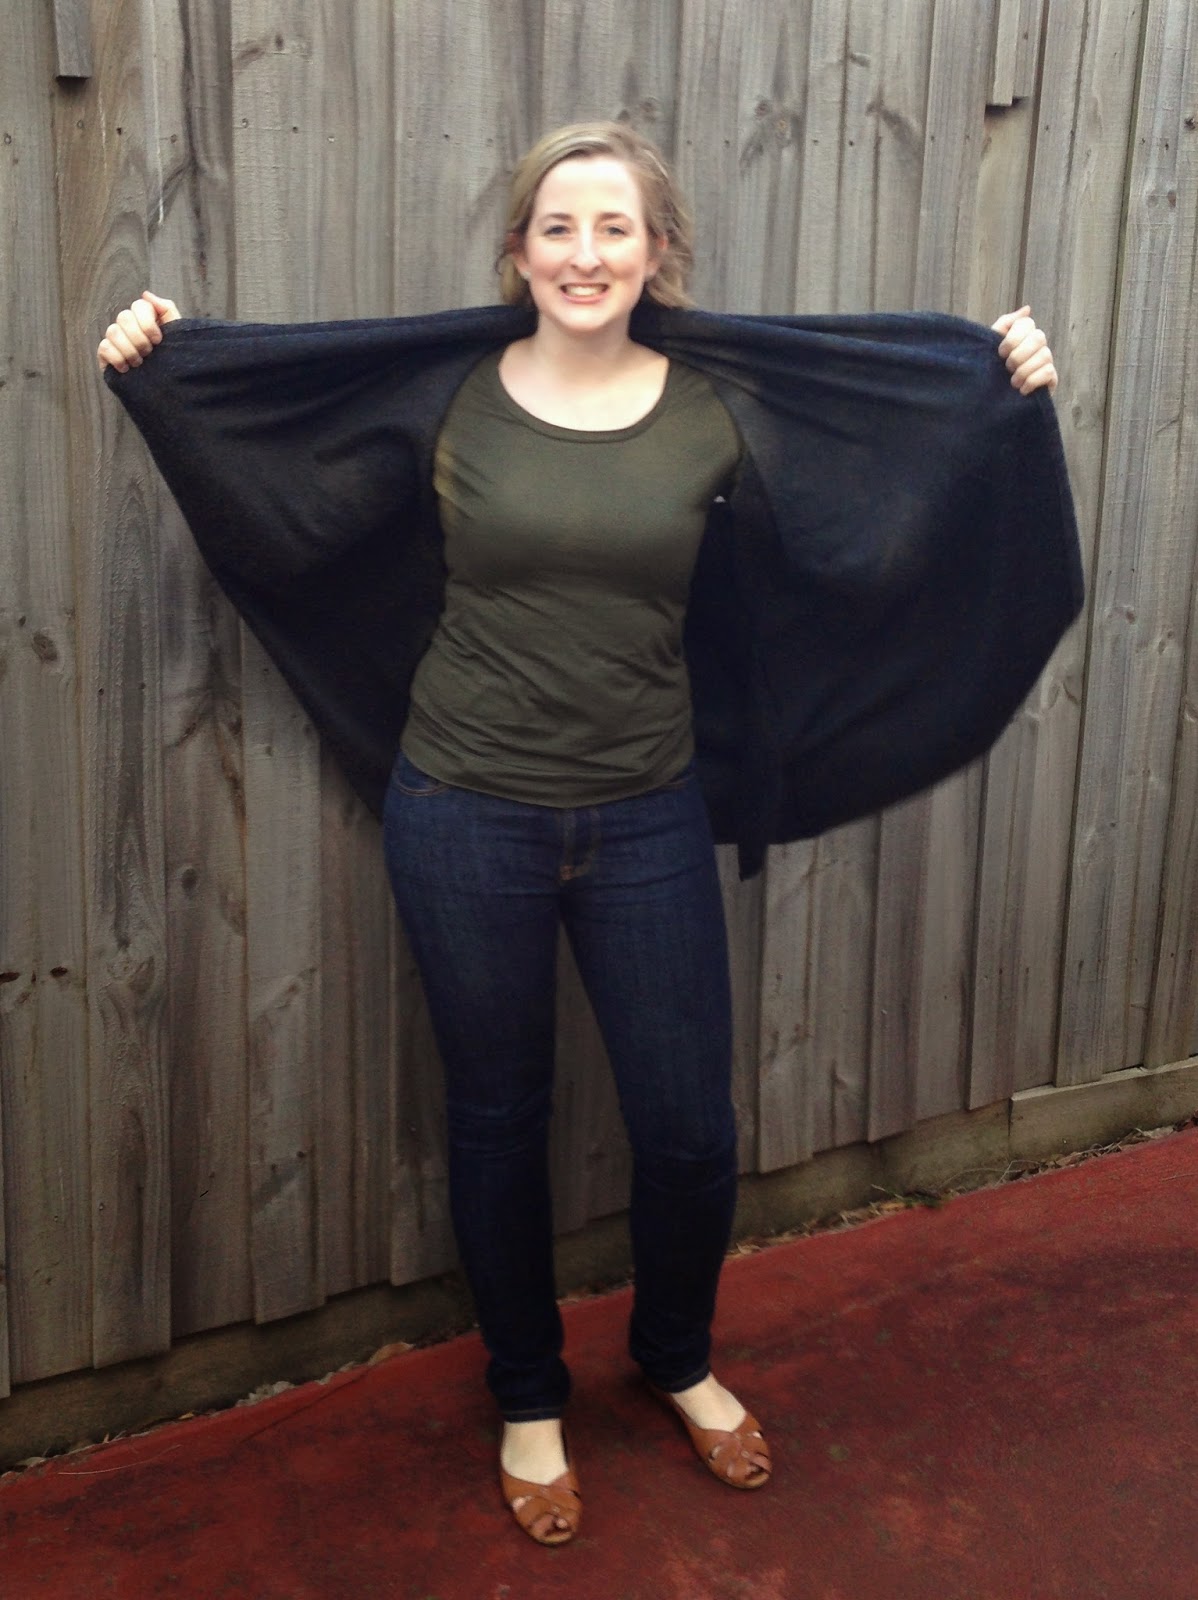
First off, let me state that it was very windy today! My sister, Nat, took these photos and, while I know I could have waited for another day, I have a growing pile of unblogged clothes and I didn't want to add this coat to that pile. In the end we embraced the wind. See below photos  of coat billowing in the wind. 

Teach Me Fashion Draped Coat

Back to the Coat. This sleeveless shawl collared coat has just three pattern pieces: Front, back, pockets. Given this, and the unfitted nature of the coat it should be no surprise that this is a very simple sew! I whipped up the coat from start to finish in just over 2 hours. This time including cutting out the fabric and watching the pattern YouTube tutorial. Teach Me Fashion Instructions are brief and don't include diagrams, so the YouTube video provides a fantastic a visual guide. 

Teach Me Fashion Draped Coat

The only techniques used in the coat are stitching & finishing the pieces, hemming all around the coat & armholes, and creating one flat fell seam where the two font pieces meet at the centre back collar. Without a doubt this will be the simplest coat you ever make! The project is perfect for beginners.

Teach Me Fashion Draped Coat

I really like the finished product of the coat. I especially love the pockets! The coat is a little different to my usual style though. I generally don't like jackets to finish around my low thighs as I think they accentuate my bottoms/hips. The coat goes so well with jeans but I hardly ever where pants, and the style really wouldn't suit my fit and flare dresses or high waisted skirts. On the other hand. It's super comfortable, looks polished (when the wind stops blowing it around) and goes well over basic long sleeves. I think it would go well with knit pencil skirts, too! I may get more wear out of it then anticipated.
  
Teach Me Fashion Draped Coat

In these photos I'm wearing the coat with an Olive Merino Sewaholic Renfrew Top. It's so satisfying being able to make your own cardy's, t-shirts and other basics. Especially in the cold months! Every winter I go shopping for new long sleeve tops and they get worn so much, and the fabric quality is normally so poor, that by the next winter they need to be replaced. So, I bought the Renfrew Top pattern while the PDF copy was on sale. 

Teach Me Fashion Draped Coat

I was shocked at how many pages it was, but with 3 neckline and 3 sleeve variations I guess I shouldn't have been. Only one suggestion for improvement - the instructions helpfully tell you what pages you should print and put together for different the variations so you don't have to do it all at once. However, unhelpfully, there are no page numbers included on the PDF pages.

Sewaholic Renfree Top

I immediately made 5 versions (two black versions aren't pictured), all size 8, all version A (round neck long sleeves), except for one with 3/4 sleeves. The pattern recommends 1.6m of wide fabric to make version A. I managed to get most of these out of just 1m each. I made 2 from merino (black & olive) and 3 from various weight cottons (a sheer black, white, and a gold/brown). I followed the instructions precisely for the first Renfrew and the pieces came together perfectly. The only change I made was use the overlocker for construction rather than my sewing machine. The next four Renfrews came together in a quick afternoon.

Sewaholic Renfree Top

I think the fit is spot on for comfy layered long sleeves. I love the scoop neck but I will certainly be giving the cowl neckline a go soon. I absolutely adore cuffs and hem bands on knits as it means no hemming, i.e. no use of the sewing machine! However, I've found the extra thickness of the hem band under skirts and dresses a little annoying. I might make a few extra without the hem band by lengthening the bottom and hemming with a twin needle.

Sewaholic Renfree Top

I have more Renfrew's planned as well as some Deer and Doe Plantains. Sewing basics like these has allowed me to begin wearing fully me-made outfits, which  I love, and control the quality of fabric used. My yearly tradition of shopping for long sleeve tops will now be happily exchanged for fabric shopping and sewing.

*Teach Me Fashion generously gifted me the Draped Coat Pattern. Of cours
e, all opinions are my own.*

Friday, 27 June 2014

Sewaholic Cambie Dress: A Wearable Muslin

I bought the Sewaholic Cambie Dress from Indie Stitches late last year with great plans for a 'conference Cambie'. Clearly I got a little distracted. Also a really long time ago, I promised my little sister I'd make her a dress of her choosing out of some elephant fabric she'd bought. She chose the Cambie! Well, I wasn't about to give her the first version I made up. I needed to have a practice run to make sure hers was perfect. This version acts as a practice run for Gen's dress as well as a wearable muslin for my future Cambie's.

Sewaholic Cambie Dress

For this dress I made version B (full skirt) in a size 8. I'm pear shaped so I can cut a straight size when using Sewaholic patterns - fantastic! I made no adjustments to the pattern other than to use the width of the folded over fabric for my skirt pieces as it was slightly narrower than the pattern pieces. Hard to believe my skirt could be poofier!

Sewaholic Cambie Dress

My fabric is a a floral lightweight cotton  which I also have in the pink colour way (see Gerties Bow Tied Blouse). This dress is fully lined in white cotton lawn.

Sewaholic Cambie Dress

 I had so much more fun sewing this dress than I antitcipated. There are just so many pieces that I thought it might be a tricky make. But, It really wasn't! Tasia's instructions are spot on. I didn't even need to reference the online sew-along. Simply put, the garment construction just involves making the dress shell, the dress lining and then sewing them together inside out. Gen's dress will be a version A (a-line skirt) and unlined, as she chose a thick fabric, so I imagine her dress will be an even easier make.

Sewaholic Cambie Dress

When I tried on the almost finished dress I could see that the straps would need to be adjusted, but I didn't realise by how much! I ended up removing 3/8" from both the front and back shoulder as well as easing the front sleeve in a further 6/8". Thus, I removed a whopping 1.5" from the sleeve. The finished dress is much improved but some fabric could be removed from the centre front and I also find the bodice a little too long. For my own future versions and Gen's dress I will remove 1/2" from the bodice length.

Sewaholic Cambie Dress

I love this Cambie. It feels super girly with the lined poofy skirt and it totally fits into my preferred fit and flare style. I'm sure I'll get a heap of wear from it in spring. Anyone in Melbourne will know that its too damn cold to be wearing this very springy dress in the middle of winter. So I layered it up with tights, my pink Coppelia Wrap Cardy, another store bought Cardy, a scarf plus my jacket for outside. 

Sewaholic Cambie Dress

Unfortunately, as you can see, these are more indoor shots. I tried to patiently wait for weekend photo opportunities with some of my other makes but I like to wear them as soon as I've made them and then they end up in the washing basket before I get the chance to take photos. The above photos I took in our living area. My sewing room gets better light during the day. But photos in my sewing room are filled with a back drop of WIP's and carpet littered with thread. Bring on Spring/summer!

Sewaholic Cambie Dress

Monday, 12 May 2014

Sewaholic Belcarra Blouse

I was having slight sewing withdrawals while away over the Easter break. Thankfully Tim encouraged me to find any fabric stores in the towns we visited and my phone internet was working so I was able to order the Sewaholic Belcarra Blouse from Indie Stitches.

Sewaholic Belcarra Blouse

I wanted to make up the blouse immediately but other sewing tasks got in the way. I was on the hunt for some buttons at an opshop when I saw an amazing piece of fabric. Approx 2metres for $3. I assume it's some sought of polly cotton blend, but I really have no idea. It's light weight and has a sheen but its not as slippery as viscose or silk. It has an abstract cream, mustard and mauve pattern. I knew it had to be my first Belcarra blouse.

Sewaholic Belcarra Blouse

I sewed version C with fold over cuffs but omitted the pocket. I cut a straight size 8. I find Sewaholic instructions to always be super thorough with great diagrams. However on this occasion I thought that there were few things missing from the instructions. But, it was late in the evening, so maybe it was just me? I didn't see an instruction on constructing the pin tucks for version B. Also the construction of the cuff wasn't covered for version C. Fortunately the top is so simple and intuitive that's it not really a problem.

Sewaholic Belcarra Blouse

The only change I made was to use French seams, including on the raglan arm seams. I followed the instructions for the neckline binding but you could easily use a pre-bought bias binding or a hand made fold over binding instead of the method used in the instructions.

Sewaholic Belcarra Blouse
 
The blouse is very simple but one I know I will wear often. I have it untucked hear, but I think it looks even better tucked in. I'm sure I'll use the pattern again and again. I'm keen to use it to replicate a beloved RTW blouse, with a similar boxy cut and sleeve cuffs, which is looking worse for wear. The pattern is highly modifiable as well. I'm keen to follow along the Sewaholic Belcarra Blouse Sewalong to see if they release any fun pattern hacks. I definitely recommend this pattern for those wanting a modifiable simple blouse, and those wanting a beginner friendly quick make.

Sewaholic Belcarra Blouse 


Wednesday, 19 March 2014

Modified Saltspring Dress: A Saltspring Top

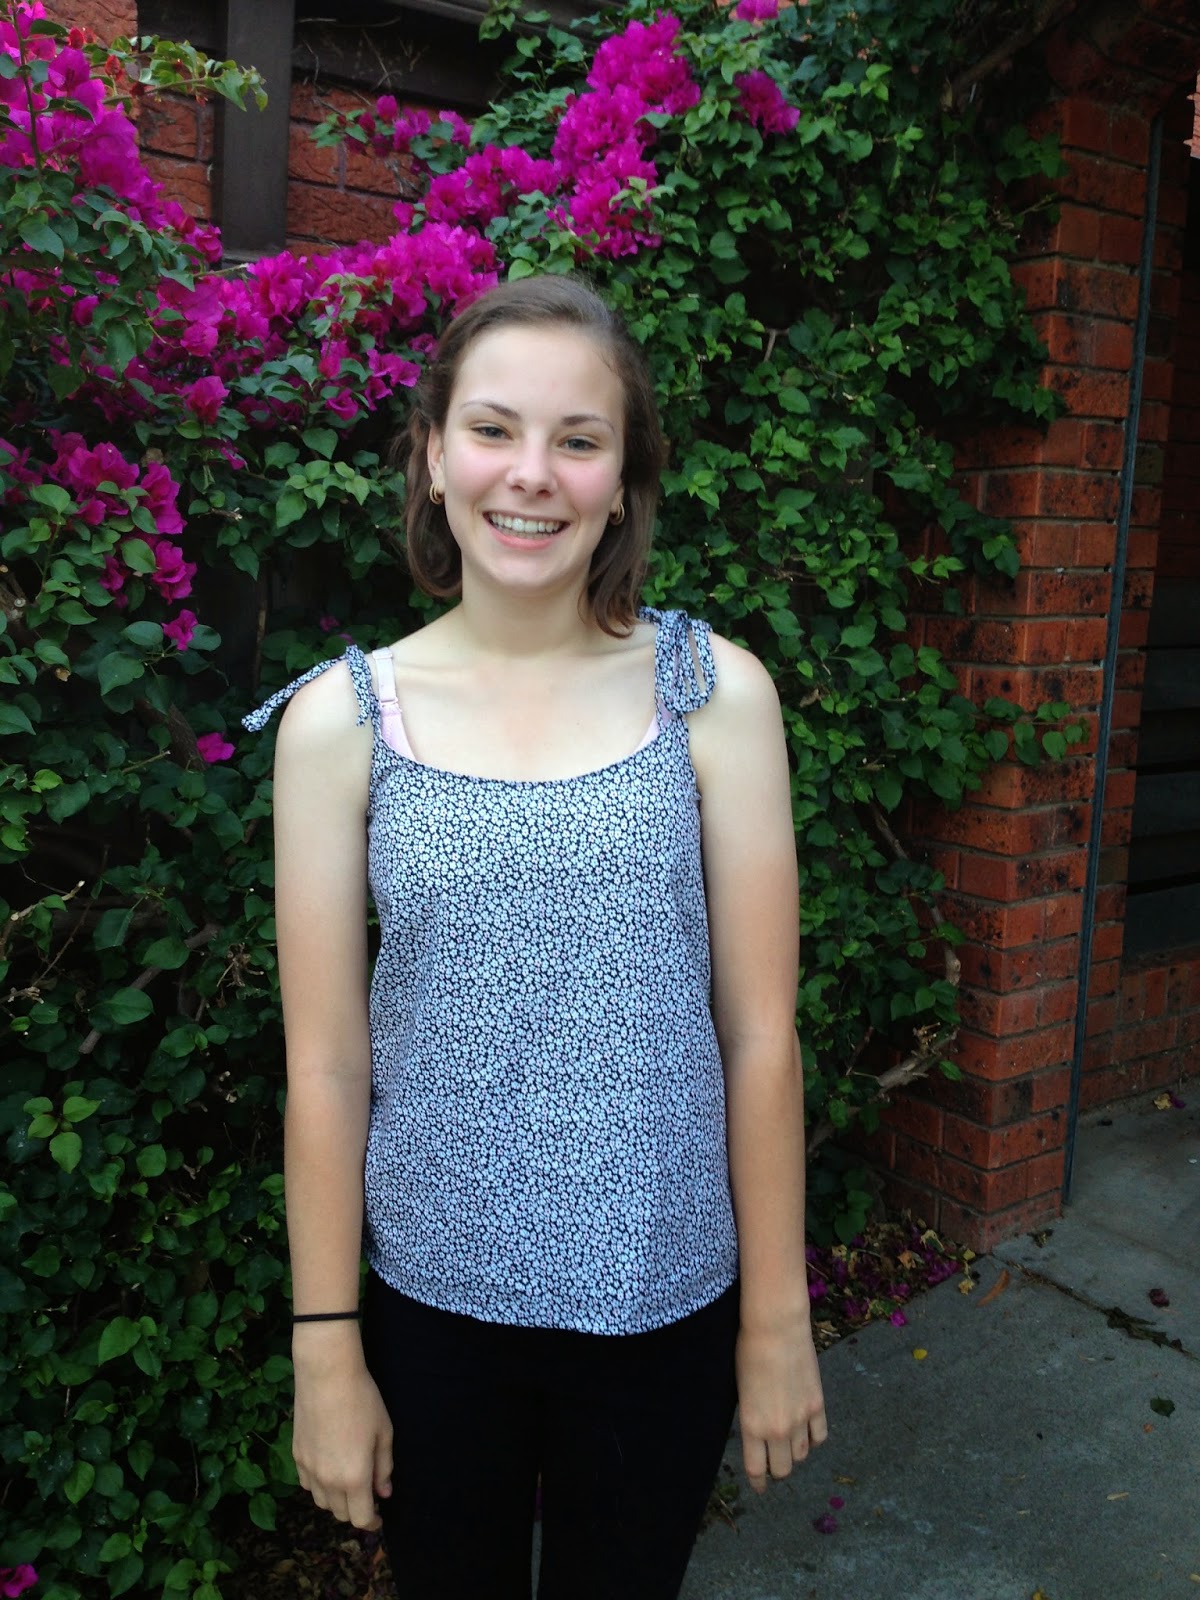
Last year I whipped up a top for my little sister to form part of her birthday present. At that time I didn't have many patterns or much of a fabric stash so I modified the Sewaholic Saltspring Dress to become a top, like Caroline did here. Tim and I had dinner at my parents last night and Gen was wearing her top so I took the opportunity for some photos. 

Saltspring top Sewaholic

All you need to do is trace of the Saltspring bodice lining pieces off and extend them to the desired length widening as you go. As there is no zip required you can cut both pieces on the fold (don't forget to remove the S/A from the back piece).

Sewaholic Saltspring top

I made Gen's top out of left over fabric from my original Saltspring dress and lined it with some white cotton lawn. There are no closures so it was super quick to whip up and it's a nice summer throw on top.

Sewaholic Saltspring top

I think the top looks super cute on Gen and I'm glad to see it fits and she wears it. I think I might make myself a version next summer.

Sewaholic Saltspring top

I'll be drawing the winner of the Billie Jean Dress Giveaway tomorrow morning so if you want a chance to win be sure to comment on the post today!

Sunday, 17 November 2013

Saltspring Dress Times Two

Like everyone else, I assume (?!), I am in complete awe of the endless supply of dresses to be conjured and sewn up by Rosin of But it can't be from Dolly Clackett. She gave me an Easter egg! and many other prolific bloggers. My day-to-day uniform generally consists of skirts and dresses. But my me-made-items have involved mostly very simple blouses, tanks and PJ's.

I thought that Sewaholic's Saltspring Dress would be a nice-and-easy transition into sewing dresses. I made up my first Saltspring around the time of the sew-along but I wasn't blogging. Not too long after that I made a second Saltspring. So, here they are, better late than never...?

Blue cotton saltspring dress


For my first version I followed the instructions exactly. The dress came together quickly with no major hassles along the way. One of the great things about this dress is the lack of fitting requirements. The dress is loose fitting, blousey, cinched in at the waist with elastic, and the straps are tied. If you cut your approximate size and alter the elastic and shoulders ties accordingly it should fit reasonably well.  

Blue cotton saltspring dress

For both versions of my Saltspring I used cotton lawn from spotlight. The fabric probably isn't as drapey as is recommended for the dress. This might be why I was so unsatisfied with how my first dress turned out. When I finished it I thought it looked beautiful. That is to say, it looked beautiful on the coat hanger. When I'm wearing the dress I find the blouseyness just too much! It's unflattering on me. Another factor might be that I'm quite short torsoed. Also, I didn't line the skirt and I wonder whether this adds to the heavy-up-top look of the dress on me. Like others, I also noticed that I could get the dress on and off without using the zipper.

 So, obviously, I needed to make another version!
Saltspring times 2
For my second version I removed the zipper and the centre back seams, added a lining to the skirt, and used the bodice lining pieces for the bodice and the lining. Also, this version has tiny rabbits on it! I think this version suits me much more. 

Autumn colours saltspring dress

I'm looking forward to wearing both my Saltsprings this summer but in the meantime they are being paired with tights, cardigans and scarves. It's been very chilly in Melbourne the last couple of weeks. I think the colours in my second dress are particularly versatile and will be great in autumn 2014. 

Autumn colours saltspring dress


Sewaholic's Saltspring was a great introduction to dresses for me. The pattern instructions are very clear and the pattern was simple enough for me to feel confident in adapting it ever so slightly. Not sure if I'll make a third version, but if I do I will probably do a copycat of this divine black silk maxi version sewn by Reves Mecanique.

Blue saltspring dress and a horsey

You will notice I ventured outside the house for these photos! There is a beautiful mural on the wall of IGA in my local tiny shopping strip depicting the old-fashion village shops. Obviously, I said hello to the horsey. 


Wednesday, 16 October 2013

Sewing for science: planning a conference cambie

Each year I attend a few of conferences (although this is likely to become fewer as my funding runs out, eek). If I am presenting at the conference then I love to purchase a special 'conference dress/outfit'. Who am I kidding, I like to buy something new regardless!

A conference dress, for me, is usually vibeing something between feminine, fun, conservative and 'this means business'. The sought of dress that can go from work to drinks reception in a moments notice. For example I wore this Karen Walker wrap-around cherry dress to a conference last year.


In my conference dress


Sewing bloggers often post about making clothes for work, and there are quite a few sewing/blogging/academics out there. There are also lots of "what to wear" posts in academic focused blogs. For example the thesis whisperer has a two part post about conference outfits and finding the perfect 'meet the people skirt' and 'keynote presentation dress' (part 1, part 2). It's probably out there, but I am yet to locate a 'sewing for a conference' or 'creating the perfect conference dress' post.

In December I have a week long conference symposium combo. I will be presenting on one day and a few other days will involve dinners, drinks receptions and other excuses to wear a dress. There will also be a number of Christmas parties to attend around the same time. I would love to buy a new dress. I've had my eye on this little number from marcs. (UPDATE: Bought the dress, it's as amazing to wear as it looks!)


beautiful marcs dress


But perhaps this is the perfect opportunity to whip out my Sewaholic Cambie pattern, which I haven't made up yet (I think I'm the only one!). This is one hell of a versatile dress. I've seen bridesmaid dresses, wedding dresses, works dresses, day dresses. So, why not a conference dress? I think Four Square Walls version is pretty close to how I envisage a conference Cambie.

Sewaholic cambie pattern


I've been holding onto some beautiful grey/blue wool for a winter version, but that wouldn't suit a December day in Australia. So the hunt is now on to find the perfect 'conference fabric' which is fun, feminine and 'this means business' all in one. Let's see how I get on. The Marcs dress can always be a backup, or something for one of the other six conference days!

If anyone has blogged about sewing for a conference, or an any sought of important presentation,  I would love to read it. 


Monday, 14 October 2013

A post of firsts!

Unsurprisingly, as a novice sewer, I am regularly ticking 'firsts' off the list. Joining Instagram and starting this blog were huge firsts for me! I'm normally not much of a 'joiner', more of a watcher (sounding a little creepy....). I suppose over the next few months (assuming I stick with this blogging thing) I will be documenting many sewing-related firsts! 

Today's firsts include entering my first ever blog giveaway! Again, I note the unusual joining-like behaviour I am exhibiting. Quarter life crisis perhaps? Anyhow, Abbey at SewCharleston  is hosting a giveaway for a beautiful fabric bundle from the Art Gallery's Minimalista collection. Abbey made a Washi / Laurel dress hybrid which is divine. The entry also required commenting on SewChaleston's blog. So, this is not only my first giveaway entry, but also my first blog comment. I've been following so many sewing blogs religiously over the past year but I've never commented! From today I will try to regularly comment on blogs and interact with the online community. 

My third first is the completion of my first Sewaholic Alma blouse. And I'm in love! I made version A in a pink and light blue/purple tiny floral cotton print I picked up at a thread den North Melbourne market last month.  Now for some terrible quality pictures: 

Sewaholic's Alma Blouse


Sewaholic's Alma Blouse

I made size 10 and its too big. I cut the fabric a month ago and have since lost a little weight. I wore the top today for work tucked into a high-wasted skirt. Tucking the top in helps make it look a little more fitted. 

Sewaholic's Alma Blouse


It took me a while to get my head around this make as it includes more darts than I've sewn in a top before (another first). But it was so much easier than I expected! It ended up being a really fun quick sew. I especially love that the pattern includes instructions on how to enclose the sleeve seams. 

The only change I made to the pattern was to omit the zipper. I basted the side seams together to check first and actually ended up taking in the side seems a further quarter inch. I can easily get it over my head. I noticed that my neckline triangle cut out is a little smaller than some others I've seen in the blogosphere. Not sure why that might be. I might cut it a little deeper next time. 


Sewaholic's Alma Blouse

Next time I will also cut a size 8 - and there will definitely be a next time, perhaps many next times. I cannot wait to find another pretty print to make this up in. I would love to make up version B with the peter pan collar. Check out this gorgeous version b creation, and this one, and this one.

That's all for today's firsts! But I know there will be more to come tomorrow. Until then....