Sunday 30 March 2014

My Full O' Heart Emery

After making my first Emery I knew I'd be making another version up in the near future, especially as it's the perfect dress for the #SewDollyClackett sew-along! All I needed was a quirky print. A few weeks ago, on a lovely lunch and fabric shopping date with Oanh of Unique Shmuck, I found this fantastic heart print in Clear It (e.g. the Alannah Hill outlet). I'm not entirely sure what it is but I suspect some sort of poly blend. We each bought 2m at $5m (score!).

Heart Emery Dress

My first dress has some excess room in the neckline which the ladies at Social Sewing helped me pin out. We decided that an easy fix would be to take in the shoulder seams 1/2". So, like my first attempt, I cut a waist chest 6/waist 8 with no further alterations.

Heart Emery Dress

I changed my mind about this dress quite a few time as I sewed. First I cut a collar in the self fabric and planed to use piping for some visual interest. I sewed the piping and tried adding the collar but it was just too much. The print was OTT enough without adding cutesy details. This reminded me that Roisin always nails to balance OTT prints with simple lines.

Heart Emery Dress

I had planned on using bias binding for the finishings instead of a lining. I changed my mind about this too. The fabric doesn't breath well so I added a spotty cotton lining. Unfortunately I didn't decide to do this until I'd sewn in the back zipper and centre back seams. I couldn't figure out how to add the lining as usual without unpicking which I wasn't up for. I ended up adding the lining to the neckline and center back as usual but binding the arm holes. Other than  issues caused by my indecisiveness the dress sewed up as well and as quickly as my first attempt. 

Heart Emery Dress

The fit is a little better around my neckline but there is still some gape at the back of the neckline. If I sew the dress again I might just  increase the SA at the neckline Centre back easing into the 5/8"as I go down. I know this isn't a technical fix, but I'm a home-sewer and can do as I please. 

Heart Emery Dress

Now, while the fabric is amazing, it's also quite thick! Thick fabric and gathering aren't the best of friends. Where as the skirt on Emery number 1 just hangs, my Full O'Heart Emery skirt is incredibly fru-fru! So poofy that I considered not bothering finishing it. After some instagram encouragement I finished the dress and wore it out that same night where I received many lovely comments on it. The fabric while thick presses quite well. It would have been well suited to an Elisalex and can you imagine this fabric for a Robinson Trench coat?!

Heart Emery Dress

Overall, I 'heart' this dress, and I'm dotty for the lining! Too much? I'm so glad this fabric popped up for the #SewDollyClackett sewalong. Are you planning on joining in? If so, are you planning more than one dress? Roisin has such great dress, shoe, cardy combo's. This sew-along has definitely made me rethink my very small shoe collection so I popped on a bright jumper to make up for my lacking shoe department. You can grab your copy of the Emery Dress pattern here.


Saturday 29 March 2014

I Sewed Knickers!

Measure Twice Cut Once just released their first collection of home sewing patterns. I've been eagerly awaiting them, not knowing what they'd be or how'd they look, but excited for a cyber buddy to take this step. Turns out that they're knickers! In fact, it's 6 different knicker patterns, from shorties to skimpies. This is yet another post where I wont be modeling, for which we can all be glad!


I was keen to lend my support and wanted to buy a pattern immediately but first checked whether they were suitable for woven fabric as my machine eats knits for fun (sewing Gods PLEASE bring me a serger!). Most pairs are suitable for wovens so I snapped up the Georgiana Knickers (bikini brief). These knickers were the quickest PDF pattern I've EVER put together and cut out. Its just four pages! From cutting the fabric to finishing your knickers I reckon it took just an hour or so. It's so satisfying to make up a pattern so quickly. I can see myself putting aside scraps and making up a couple of pairs a month for an ongoing supply of pretty knickers.

Georgiana Knickers

The details: For my first pair I cut a size 14 out of bunny viscose (scraps from my PJ set). I found the instructions clear but a little brief at certain points. There was good details on finishing techniques and sewing your knickers with a serger Vs sewing machine, but I found the drawings and the written instructions a little confusing when attaching the knit gusset and sewing the crotch seam. Unfortunately that's the first step so its not intuitive what to do.

Georgiana Knickers

For my first pair I ended up improvising. I sewed the knicker front and back together at the crotch and then attached the gusset separately. I found the waist band elastic WAY too loose but couldn't be stuffed with all that unpicking so cut and took in the sides for a quick fix. A good tip to get the right elastic measurement is to measure a much loved pair of RTW underwear. I did this for the leg openings and they turned out perfect first time.

Georgiana Knickers

After some online support from the designer I got my head around the gusset/crotch seam insertion. I also cut up an old pair of knickers to take a closer look and have a visual guide in front of me. Maybe it's just me, but the images in the instructions totally confused me and led me in the wrong direction.
  1. Sew the the knicker together wrong side facing at the crotch seam with the gusset right side facing down on the bum piece. 
  2. Once this seam is sewn and you lay your knicker out you should have an inner seam with the gusset right side facing the wrong side on the knicker backside. 
  3. Flip the gusset toward the front of the knickers. It should now be right side facing up. Stitch the gusset down about 1cm from the seam. The sides of the gusset are later sewn into the elastic leg openings

Georgiana Knickers

I started making a second pair (not pictured) and got the gusset perfect but had trouble with the elastic insertion (my error!). Finally, my third pair came together perfectly! After noticing how big my first pair were around the waist I cut the waist to a 12 but left the crotch length and covering a 14. This pair are super comfy with good coverage and crotch length. Now that I've got the sizing and gusset insertion just right I can see myself making many more pairs! I've already cut two more pairs that are just waiting on a store run for some more 1/4"elastic.

Georgiana Knickers

I made my second pair out of cotton lawn left over from the Sorbettos I made my sister and I. I love to wear matching underwear and bras. Well, now I can wear matching knickers and tops! I'm so glad I persisted with these knickers. I can see many many more in my future. Time to break out the trimmings and ribbons! This just put a whole knew meaning to the upcoming Me-Made-May! Ok, that's enough knicker talk.

 Georgiana Knickers

Monday 24 March 2014

An Emery & A Date

There are so many incredible versions of Christine Haynes Emery Dress floating around the interwebs! Obviously I was inspired by them all and snapped up a pattern from Indie Stitches before they ran out of stock again. I knew the lovely Caitlan from Indie Stitches had been working on her version and we were planning a get together so we decided to have an Emery date! I'd also been working on convincing Caitlan to start her own blog for some time and she finally let up and Emery is the star of her very first blog post. Go check out Caitlan's BEAUTIFUL sleeveless version.

 Emery Dress

So, the dress. I traced a size 6 bust-8 waist and hips at a social sewing day where I was much more social than I was sewing. I knew that if I had any fitting issues it may be in part due to the poor tracing.

Emery Dress
With the removable bow belt. 

I used a cotton form Darn Cheap, it's a little dark for my skin tone but I went with it anyway. I used a contrasting fabric for the lining. Note, if your not lining your dress or your using a contrasting fabric than you will only need 2m (maybe less) for Version 1. I used the contrast fabric for a bow and sleeve cuffs. I tried the bow that came with the pattern and it was super cute but I wasn't sure that it was me. So after some instagram advice I opted for a removable bow belt. I wear the dress without the belt most often

Emery Dress

The Emery dress instructions are so incredibly detailed! My dress came together so neatly and quickly following Christine's fabulous instructions. I really felt well supported by them, not once did I feel the need to deviate to a preferred technique or check another resource. However I did machine stitch the hem because life's just to short for hand sewing imo.

Emery Dress

I love the way the dress turned out but I do have some fitting issues. Again, who knows whether its the way I traced the pieces or not? Regardless, next time I need to take some fabric out the center top of the shoulders as the neckline isn't sitting flat. I thought about raising the waistline half an inch as its a little low on me but once I adjust the shoulders this shouldn't be an issue. I find the sleeves a little restricting but I'm not sure whether I need to increase the arm hole or increase the sleeve piece or both. I've already cut out my next version and it will be sleeveless.

Emery Dress

So, back to the Emery date. I'm shattered that Caitlan and I didn't get a photo together (fools!). But here's one of her in her Emery. We had a nice long long chat, visited Clegs and Tessuti, and had lunch. It was so lovely meeting up with someone in real life after becoming such great cyber buddies. I can't wait to see what Caitlan sews up next!

Emery Dress

*Talking Caitlan and her blog up is not part of my sponsorship with Indie Stitches. I genuinely think Caitlan is awesome therefore her blog should be on our blog roll and radar.*

Friday 21 March 2014

Sew Cheap March Free Pattern Review: Madeleine Mini Bloomers

Given the amount I've been sewing and posting lately you're probably thinking "does this girl have a life?". The answer being "no, not really" at the moment. So lets get on with it. For this month's Sew Cheap: Free Pattern make and review I chose the to make some PJ's! I made up a matching pair of Colette Patterns Madeleine Mini Bloomers and Sorbetto Top. These are both free multi-size patterns which pair perfectly for sleep wear.

Colette Sorbetto and Madeleine Bloomers

I made them up in a lovely viscose from Darn Cheap Fabrics which has me thinking about Easter just a little too early. I've made the Sorbetto previously (oh, about seven times, six of which are posted here). I've noticed my previous tops are a little loose now so I made up a size 4 this time, as usual extending the length to a size 18. I can whip up a Sorbetto in just over an hour now. I used premade mauve bias binding on the neckline and armholes. I love how it turned out and might be tempted to pair it with jeans and wear it as a top. The Sorbetto is a great beginner pattern IMO - no closures and just two darts. 

Colette Sorbetto Bloomers

Now to the bloomers. I'd seen that the bloomers were Very short on others in the blogosphere and also quite lowcut. Before cutting out a size medium I added 1"to the top and 2"to the bottom of the back and front pieces. I french seamed all seams in the bloomers and the top for a neater finish. Otherwise I followed the instructions. I had some trouble inserting button holes into this fine fabric (where the ribbons tighten the leg openings), and even more trouble unpicking them. After applying some interfacing everything turned out peachy. 

Colette Madeleine Bloomers

I love the look of the bloomers! The gathered effect on the waist and leg openings is super cute! I have a couple of complaints though. 1) Even with the added 1"at the waist I still feel that the crotch rides ever so slightly high. It's not problematic I just like a lower crotch curve on PJ's. 2) as much as I love the look of the double elastic at the waistline the elastic keeps rolling over in the casing and becoming twisted. I might have to go back and stitch on top of the elastic with a long stitch to stop it from doing this. 

Colette Madeleine Bloomers

The bloomers are labelled as a beginner pattern. It's a simple pattern with good instructions but I think a true beginner would have some trouble with the button holes (four in total) and the need for precise stitching along the waistband and leg openings. 

Colette Madeleine Bloomers

As you can see I decided against modelling my new favourite PJ's. But suffice to say the bunnies look fantastic on! You'll just have to take my word for it :) 
If you like this post, check out my Sew Cheap: Top Tips Sew Cheap: Free Patterns and previous Sew Cheap posts. 

Thursday 20 March 2014

Sewing Experience, Level & Category

My blog description is "Challenges and triumphs of a beginner sewer*..."Over the last few weeks quite a few people have commented either on my blog or in person that I'm not really a beginner sewer any more. I'm not sure when this change occured, if at all, but I guess it might have been after making Tim's Albion Jacket.


I've only been sewing for aprox 18 months and I guess if I had to describe my sewing skill (or lack there of) it would still be a beginner sewer who dabbles in intermediate and advanced patterns. I'll give anything a go and I like challenging myself but, obviously, I have  much more to learn about sewing than what I know already! And while I might have intermediate skills in one particular area or technique I haven't even learnt the names of many other important sewing techniques. So, for me, my blog description and about me section still hold true, but others might disagree.

So, how do you know what level sewer you are? Do you feel the need to label it at all? Tim says that I'm over thinking it and I shouldn't need to label my skill level at all. Perhaps he has a point? Except that sewing patterns, classes and books are often prescriptive of certain levels so you can identity whether they are appropriate for you or not. But then again I wouldn't hesitate to make patterns, take classes and read books beyond the beginner level. 


Leimomi from The Dreamstress has a great post on this topic and came up with the following rating scale which I think is useful. It's objective and there's no terminology to either daunt you (e.g. advanced) or hide behind (e.g.beginner). On this scale I'm somewhere around a 5 and a 6. 
1: is an absolute beginners course, for someone who has never been on a sewing machine before.
2: you’ve made cushions or something similar, and know how to set zips and make buttonholes.|
3: you can follow a simple sewing pattern.
4: you’ve moved up to more complicated patterns with linings.
5: you’re ready to start making adaptions to your patterns to suit your taste and to fit you better.
6: you’ve begun to draft your own simple patterns and making up moderately difficult patterns
7: you’re beginning to play with draping, and trickier fabrics
8: you’re working your way up to difficult fabrics, evening wear, tailoring and tricky fitting issues

9: you’re making your own patterns, and working with couture techniques.
10: is for someone with experience in pattern making, couture sewing, and advanced fitting.
(source)


Finally, I know lots of seamstresses have a problem with the word sewer and it's association with plumbing. I admit it's not ideal. But as a beginner sewer I never felt that I could call myself a seamstress. To me, that feels like a word reserved for people who know what they're doing, perhaps have formal training, and maybe even make an income from their skill. Thus, I will continue to be a sewer for the time being. 


I'd love to know if others feel similarly about rating their skill level or perhaps you don't bother? 

Giveaway Winner: Billie Jean Dress Pattern

It's so exciting being able to send off the beautiful Billie Jean Dress Pattern to one lovely lucky lass in the sewing community. Thank you to everyone who left a comment telling me what dress version you'd make. There were some fantastic ideas and I think you should all go and buy the pattern and get started asap!

The winner is...commenter 12* from Gjeometry.com!
I can't wait to see the pencil version you create! I'm sure it will be as beautiful and unique as all the garments you whip up. I'll send you an email shortly to get your postal etc.


BIG thanks must go to Caitlan of Indie Stitches who encouraged and enabled me to hold this giveaway.


*Three commenters opted out of the competition itself and were just leaving a lovely comment. I excluded these ladies from the count.  

Wednesday 19 March 2014

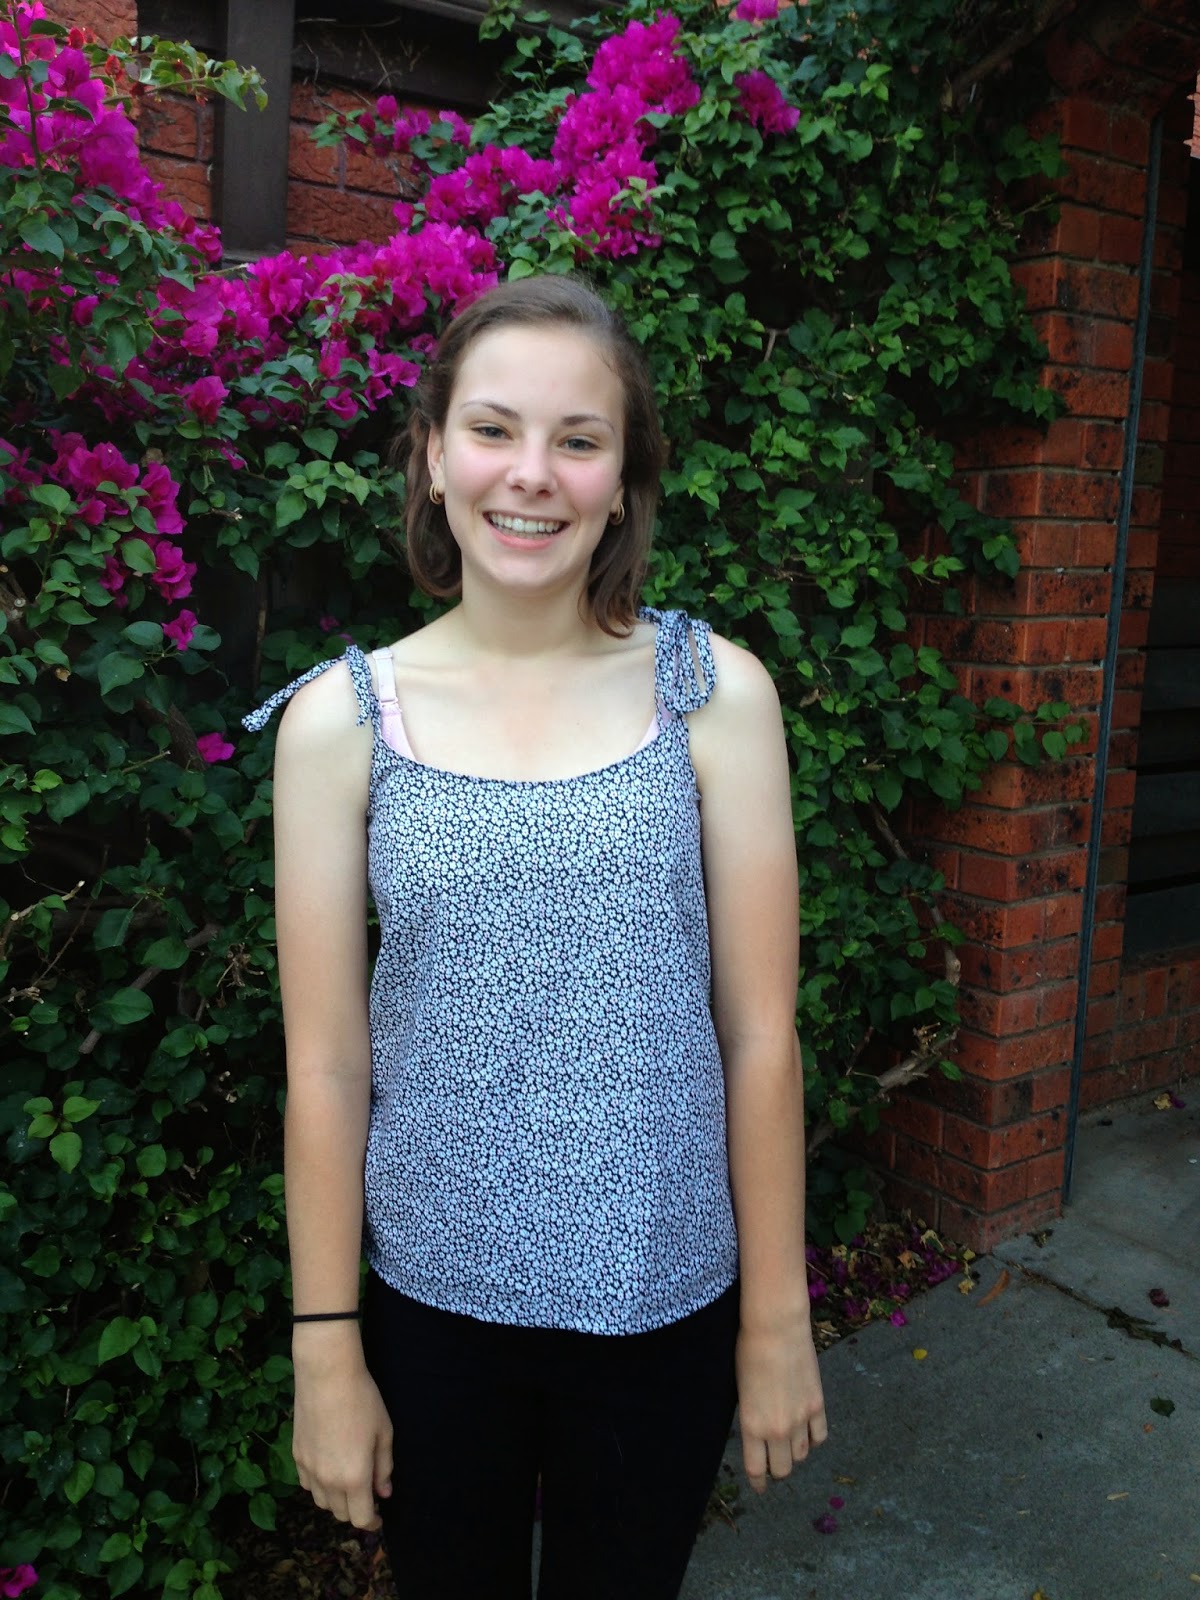
Modified Saltspring Dress: A Saltspring Top

Last year I whipped up a top for my little sister to form part of her birthday present. At that time I didn't have many patterns or much of a fabric stash so I modified the Sewaholic Saltspring Dress to become a top, like Caroline did here. Tim and I had dinner at my parents last night and Gen was wearing her top so I took the opportunity for some photos. 

Saltspring top Sewaholic

All you need to do is trace of the Saltspring bodice lining pieces off and extend them to the desired length widening as you go. As there is no zip required you can cut both pieces on the fold (don't forget to remove the S/A from the back piece).

Sewaholic Saltspring top

I made Gen's top out of left over fabric from my original Saltspring dress and lined it with some white cotton lawn. There are no closures so it was super quick to whip up and it's a nice summer throw on top.

Sewaholic Saltspring top

I think the top looks super cute on Gen and I'm glad to see it fits and she wears it. I think I might make myself a version next summer.

Sewaholic Saltspring top

I'll be drawing the winner of the Billie Jean Dress Giveaway tomorrow morning so if you want a chance to win be sure to comment on the post today!

Monday 17 March 2014

Liberty Cord Grainline Studio Moss Mini

Last month I posted about my planned Liberty needlecord Grainline Studio Moss Mini and the Gorman skirt that inspired it. I chose this beautiful Liberty Rossmore Cord - LRC03542256C - Lesleys from Sew Box in the UK. First let's talk about how much I love the skirt and then I'll talk details.

  Liberty Moss Mini

Um, I love it a lot! The skirt is not perfectly constructed, but its still perfect in my book. It's super mini and super fun. It's a great summer length but also pairs really well with tights. The skirt feels really me and I love wearing it. Quick note, its been so overcast in Melbourne and all my outside photos turned out overexposed. Sorry!

Liberty Moss Mini

The details. I cut the mini version in a size 8. I easily got the skirt out of the 1m I bought with all the pieces running in the same direction (phew). I was surprised by how delicate the Liberty cord was and decided to line in with a purple cotton sateen from spotlight. I've never lined a zipper fly skirt before and wasn't sure how to go about it so I made it up as I went along. In essence I made two versions of the skirt back and front but didn't include the pockets on the lining version.  

Liberty Moss Mini

I basted the two skirts together, wrong sides facing at the center front fly and a few inches either side. I treated the lining and self fabric as once piece for the zipper insertion. The fabric was a little bulky and the liberty bunched up a little at the bottom of the fly cover. It's not perfect but I think the print hides the bunching pretty well.

Liberty Moss Mini

I then turn the skirt inside out and sewed up the lining side seams and self side seams separately. On the self fabric I created foe flat fell seams which you can see in the picture below (the double straight line at the center back of the self fabric). I also top stitched the pockets. Unfortunately the top stitching is lost in the print but it makes me happy to know it's there.

Liberty Moss Mini

I only cut one waistband and one facing, as originally instructed, and sandwiched the two skirt layers between them. I added my own label and the beautiful Liberty label that came with the fabric to the waistband facing. I also attached 5 belt loops to the skirt using the instructions from Tim's Jedediah shorts. Again the belt loops get a bit lost in the fabric, but I know that they're there!

Liberty Moss Mini

I attached gold button I got in an op-shop bag-o-buttons-bargain. I regret not interfacing the waistband, in addition to the facing, to provide some extra structure. but otherwise I'm really happy with it.

Liberty Moss Mini

I originally wanted to keep the lining and self fabric as separate skirt layers (apart from the fly) and thought I would hem the two skirts separately. The hem is created by folding 3/8"twice. To keep a teeny tiny bit more length I decided to fold both skirt 3/8 just once and hem them together. I'm not sure this was the best decision as if either fabric stretches it will bulge at the hem. I could always re-hem it later.

Liberty Moss Mini

Overall, I'm really happy with how the skirt turned out and I'm glad I made something that I will wear often and can be proud of, rather than spending more money on something mass produced. Sewing with the liberty fabric was a dream. I love the feel of the silky soft cord. I hope and pray I can justify further purchases of Liberty fabric some time in the near future. 

Liberty Moss Mini
Finally, Just three days left for a chance to win a Bluegingerdoll Billie Jean Dress Pattern. Go check it out! 

Saturday 15 March 2014

Sew Much Ado: Schoolboy Vest

I’m really excited to share this post. A few weeks ago Abby, from Sew Much Ado, put the call out for pattern testers for her fabulous Schoolboy Vest PDF pattern and I was lucky enough to be involved. The pattern was designed for children sizes 6m to 12 years and would be a fantastic addition to any little man’s wardrobe. And for that matter, it would also be super cute for girls too! I tested the size 8 for my 7.5 yr old nephew, J. The vest came together so easily and doesn't he look smart?!

Schoolboy Vest

The pattern includes instructions for either faux or real welt pockets as well as a back tie. The vest ends up looking really professional but the pattern is beginner friendly. Abby holds your hand through each step.This was my third time inserting welt pockets and it went perfectly.The instructions for the welts were the clearest I've seen so far. Another tricky part of the vest for some might be making the buttonholes and positioning them correctly. Well, the pattern includes a button hole guide which you can use after the vest is made up. No stress about chalk markings disappearing. Every step in the instructions is also accompanied with a colour photograph to look at if the words just aren't making sense for you. What more could you ask for?

Schoolboy Vest

I made J's vest out of 1/2m of a wool blend for the shell and the lining I made from one of his Dad's old Men's shirts. You need so little fabric that it's quite the little stash buster. J is not a big guy so he has plenty of room to grow in the size 8.

 Schoolboy Vest

The vest I made is quite classic looking, but some of the testers made very modern, colourful versions. Some made gorgeous vests for little girls. The vest can even be made reversible so you could do serious on one side and fun on the other. Check out the cuties on the pattern label Abby designed. Anywho, I highly recommend the Schoolboy Vest, whether you are looking for a pattern for your little boy or girl  for special occasions or just for fun!

Schoolboy Vest
source: http://www.sewmuchado.com/2014/03/schoolboy-vest-pdf-pattern-is-here.html
Thanks for letting me test out this wonderful pattern Abby, I had a lot of fun making it and also interacting with you and the other testers. Can't wait to see more vests popping up on the blogosphere.

Thursday 13 March 2014

Oliver & S Bucket Hat

Just a quick post showing the hat I made my Niece V yesterday. My sister had mentioned she was looking for a new hat for V with a drawstring strap so I thought I'd whip one up using the free Oliver & S bucket hat pattern.


The pattern comes in 6m to 8 yrs sizes. I made V the small (12m-2yrs) in the fruity cotton fabric I used for her Christmas present with purple insides. The pattern only has three pieces and comes together super quick. the only tricky part is sewing around the small curves. Also, I hate hand sewing so it was a little annoying having to sew the inside hat into the shell hat.  


 The only alteration I made to the pattern was to sandwich a cord made from the self fabric into the sides of the hat to act as a strap and pop a drawstring closure on there.


It turned out super cute but on the small side. V will need the next size up in no time even though she's only 16 mths. Overall, this is a great free pattern!