Saturday 23 August 2014

Sew Cheap August Free Pattern Review: Tessuti Libby A-Line Skirt

For my August Sew Cheap Make and Pattern Review I chose the Tessuti Libby A-line Skirt Pattern. It's a simple skirt pattern with a side zip, waistband facings (but no waistband), three length options and waist darts in the back panel. The pattern comes in Aus sizes 6 to 16.  
Libby Skirt

I haven't seen many Libby's online with the exception of Rachel's lovely French Noir version. From the looks of it Rachel's fabric choice probably influenced my own, although I didn't realise it at the time. I chose to make up Libby in a scrap of black poly from the Alannah Hill outlet. It has a large weave with polkadots. The fabric is pretty but has absolutely no give and it's shiny nature isn't that flattering around the tush/curves. My measurements were between a 10 and a 12 so I cut an 11 (between the two sizes) in mini length. This pattern is an excellent stash buster. I got this skirt out of just over half a meter of fabric.

Libby Skirt

The instructions are detailed and have accompanying photos. This pattern is totally achievable for any beginner willing to tackle an invisible zipper. The only changes I made to the construction were: 1) stay stitch around the waist of my pieces instead of using Vilene tear-away (worked fine), 2) reverse the order of the zipper insertion, 3) grade waist seams as the fabric is quite heavy, 4) Used my machine where instructed to hand stitch. I whipped the skirt up from cutting to hemming in an easy afternoon. Of course it would take a little longer is hand stitching. 

Libby Skirt

I really like how the skirt turned out, however the fit is a little off. I need a bit more ease around my hips but could go tighter at the waist. Next time I'll grade from a 10 at the waist down to a 12. I will also take into consideration my fabric choice as something with a bit more give and drape would fall a hell of a lot better around my tush/hips. I absolutely love the length and plan to whip up at least one more Libby mini. Because of the uninterrupted back and front panels (e.g. side zip and no waistband), I suspect this skirt would be a great option for large scale prints and plaids that requite pattern matching.

Libby Skirt

The weather today was perfection and has me hanging out to start sewing more spring and summer clothes. Happy Weekend!
If you like this post, check out my Sew Cheap: Top Tips Sew Cheap: Free Patterns and previous Sew Cheap posts. 

Wednesday 13 August 2014

A Grumpy Gathered Skirt

Last Saturday I had a lovely afternoon eating and fabric shopping with a great bunch of sewers. I picked up a couple of items from Clear It and also from The Fabric Store and was gifted a Cynthia Rowley pattern (S2250) from @suluswabi who was de-stashing (Thank you!). 

Emery Skirt

I was looking for something drapey to make another high waisted gathered skirt similar to my floral emery skirt hack. At The Fabric Store I was immediately drawn to this silk/cotton blend with a black background and pink, purple and blue dotty stripes.

Emery Skirt

As it was going to be such a simple make I immediately cut into the fabric and started sewing. I was happy-as-larry when I begun cutting out the skirt pieces but quickly turned into a complete grump. The main problem being that I kept changing my mind throughout this project and lost patience with it.

Emery Skirt

Here's what went down:
1. Started out with the emery skirt and pocket pattern pieces and a self drafted waistband piece. Added about an inch to one end of the waistband as I wanted to have a button tab closure. 
2. Looked up a tutorial for French seaming when using in-seam pockets and decided it looked a little messy and imprecise. Ditched the pockets.
3. Started sewing the skirt pieces together and came to the late realisation that the skirt should probably be lined as it was slightly transparent. Cut some more skirt pieces out of a skin coloured viscose which I'm glad to be rid off because it shifts around and stretches out while sewing.
4. Gathered the lining and main skirt pieces, attached them to the skirt, serged the S/As. Realised I forgot to leave the end on the waistband free of skirt fabric to allow for the tab.
5. Cracked it (the shits, not the skirt), and wondered whether my skirt was looking a little like a circus tent with these beautiful colourful stripes.
6. Unpicked the tab end of the skirt/waistband and re-gathered the skirt so that it ended where is should have. Changed my mind all together about the tab and just snipped off the extra 1".
7. After turning an incredibly simple make into a frustrating afternoon I sewed the invisible zipper into the skirt and simply serged the centre back S/A's, turned the waist band under and stitched in the ditch, and finally hemmed the lining and the skirt.

Emery Skirt

Nothing in the above is all that terrible and it was still a quick sew, but somehow I turned a simple project that should have been lovely and satisfying into a complete frustration. This skirt has taught me a lesson about thinking through a project before cutting into the fabric (no matter how simple it seems). Also, perhaps it's best to stop sewing when you start chucking a tanty over the smallest issues.

Emery Skirt

Thankfully the final product is quite pretty and exactly what I set out to make - a drapey gathered high waisted skirt. That's enough grumpiness for one day! Thanks to Jess for taking these photos at work today.

Emery Skirt

Monday 11 August 2014

Alder Shirt's (Not A Dress)

My Alder Shirt Dresses (1, 2, 3) fit so much better around my shoulders/arms than my sleeveless Archer, even with mods. Thus, I decided to try making a shirt version of the Alder Shirt dress.  I ended up making two and I can see myself making more when the warmer weather arrives.

Alder Shirt
 
To make the dress (version A) into a shirt I simply took my Archer shirt pattern pieces compared them to the dress and drew on the shirt curve. I also folded up the button band and interfacing pieces to the length used in the archer pattern. Jen is planning a sew-along tutorial for making Alder into a shirt and I'm sure she'll have a fancier way of doing it, but for now this worked perfectly. These shirts are both made in a size 8.

Alder Shirt
 
For my first shirt I used a soft black cotton voile with a wide checked weave. It will be a lovely light option in summer. I used some cream buttons with little pink flowers on them. I have one big regret with this shirt: I used white interfacing with black voile. You can see the white through the fabric on the collar and button placket. Consider it a lesson learnt! Going out to buy some black interfacing asap.

Alder Shirt
 
For my second version of the shirt I decided to try out a pop-over button placket as a practice for my 3rd Alder dress. This placket is about 2" shorter than the one I ended up using on my Navy Alder dress. I used a stiffer cotton with a white and red flower motif that I've had for ages. For the insides (under collar, inner stand, yoke) I used a plain white cotton poplin.

Alder Shirt

I'm not totally convinced about this fabric, it's only OK. I wore it tucked into jeans and was relatively happy. I definitely want to try out the popover shirt version in a light blue chambray which I'm sure I'd wear heaps in summer.

Alder Shirt
 
The Alder Shirt (not dress) VS The Archer Shirt: Alder is narrowrwer through the shoulder and bust, meaning there is less arm hole gape. The Archer is narrower through the front waist and hips where as Alder has more of an A-line shape. The bottom button on my Archer shirt is a snug fit while on the Alder shirt there is plenty of room for belly, hips and bum.
 
I'm currently sewing something that isn't an Alder shirt or dress! In fact it's not even a Gainline Studio pattern. But I will definitely be revisiting the Alder pattern again and again.

Saturday 9 August 2014

Alder Shirtdress The Third: Popover Variation

I love the Grainline Studio Alder Shirtdress. This is my third Alder dress (see 1,2), I have two Alder shirts to be blogged and I see more variations in my future. I'm sick about Alder! This particular version is another Version A (a line) but with a hacked front button placket to make it a popover /pull over. 

Alder Popover shirtdress

I cut a size 8 again after my size 6 pulled across the chest. However, I had a lot of excess room in the sides and you could see down my dress through the arm holes to I brought in the side seams by 1/4". So I guess I am somewhere between a 6 and an 8 with some clever button placement needed across my chest. 

Alder Popover shirtdress

To make the dress a popover I:
1. Folded out the centre front button placket fabric (fold at the second set of notches) and cut the front piece on a fold.
2. Created a pattern piece for the button placket. I did this by using the cuff placket piece from Tim's Negroni Shirt and simply lengthened the piece so that the placket would be around 11" (chosen arbitrarily). I also widened the under placket component so that it would be 1"wide rather than 1/2".
3. Sewed on the button placket piece as instructed in the Negroni pattern and then made up the rest of the pattern per the Alder Shirtdress instructions. 
4. Ta da! Wear dress. 

Alder Popover shirtdress

My fabric is a navy rayon cotton blend with some silver metallic thread through it. The metallic isn't very noticeable but gives the fabric a nice sheen. Going with the theme, my buttons have silver sparkles in them. I used the left over cotton lawn from my latest emery for the under collar & stand as well as the inner yoke and arm hole binding.


Alder Popover shirtdress

This fabric is crazy wrinkly. These photos are taken straight after ironing the fabric - it did nothing! I guess I need to get used to the wrinkly look.
  
Alder Popover shirtdress

I really love this Alder! It was fun trying something different with the popover variation and it's nice to know that I could do something similar with other dresses and tops now. I have just one more must-make Alder shirt dress in my mind before I can give the pattern a rest for a while. Although, I'm sure with the sew-along starting I'll need to try some of the variations Jen plans on sewing up.

Wednesday 6 August 2014

Scarf Neck Cardy For Mum

My Mum's birthday is the same day as Tim's and I also made her present: a Swoon Scarf Neck Cardigan. The same free pattern I used to make my own beige cardy last month. I wear that cardigan ALL the time and it is incredibly comfortable. It seems mum's style so I whipped one up for her too.
 
Swoon Scarf Neck Cardy 
 
I made her version out of a wool blend knit form the Cloth Shop. Its a gorgeous magenta purple colour. Tim took some super quick photos before I had to hand it over. I had a hard time taking it off and putting it in a gift bag. I may need to make another version just for myself. I didn't now I liked purple so much!

Swoon Scarf Neck Cardy

My mum is a little smaller than me so I cut the same size (S) but increased the seam allowances to 5/8" rather than 3/8" to create a slightly smaller fit. I also added some cuffs on the sleeves as I really like the finish, however I didn't take any length from the arms so its really nice to snuggle into.

Swoon Scarf Neck Cardy

I've been doing a bit of selfless sewing lately and I have more to get on with. I have been telling my younger sister I would make her a Cambie dress since Christmas, so that's a priority for this month! I also need to make Tim another Negroni shirt out of the "good fabric". To keep me interested I like to sew 1 or 2 things for myself between projects for others/ commitment sewing (because I'm selfish like that!) so I have a lot of sewing ahead of me this month. How's your month looking? Any fun sewing plans?

Swoon Scarf Neck Cardy

Monday 4 August 2014

Tim's Birthday Negroni Shirt & Moose PJs

For Tim's birthday I offered to make him a shirt. I liked the idea of making a Colette Patterns Negroni as I knew the instructions would be beginner friendly for my first men's shirt attempt. I bought the pattern from Indie Stitches.
 
Colette Negroni Shirt
 
My biggest issue was finding suitable fabric. Tim has a lot of checked and striped shirts so I wanted something a little different to that. Finding shirting fabric for men that isn't just white or pastel stripes is difficult, imo. In the end we decided I'd make one out of Robert Kaufman spotted chambray in indigo. Of course, I couldn't find a supplier with any stock left so we are waiting for more fabric to come instock.

Colette Negroni Shirt

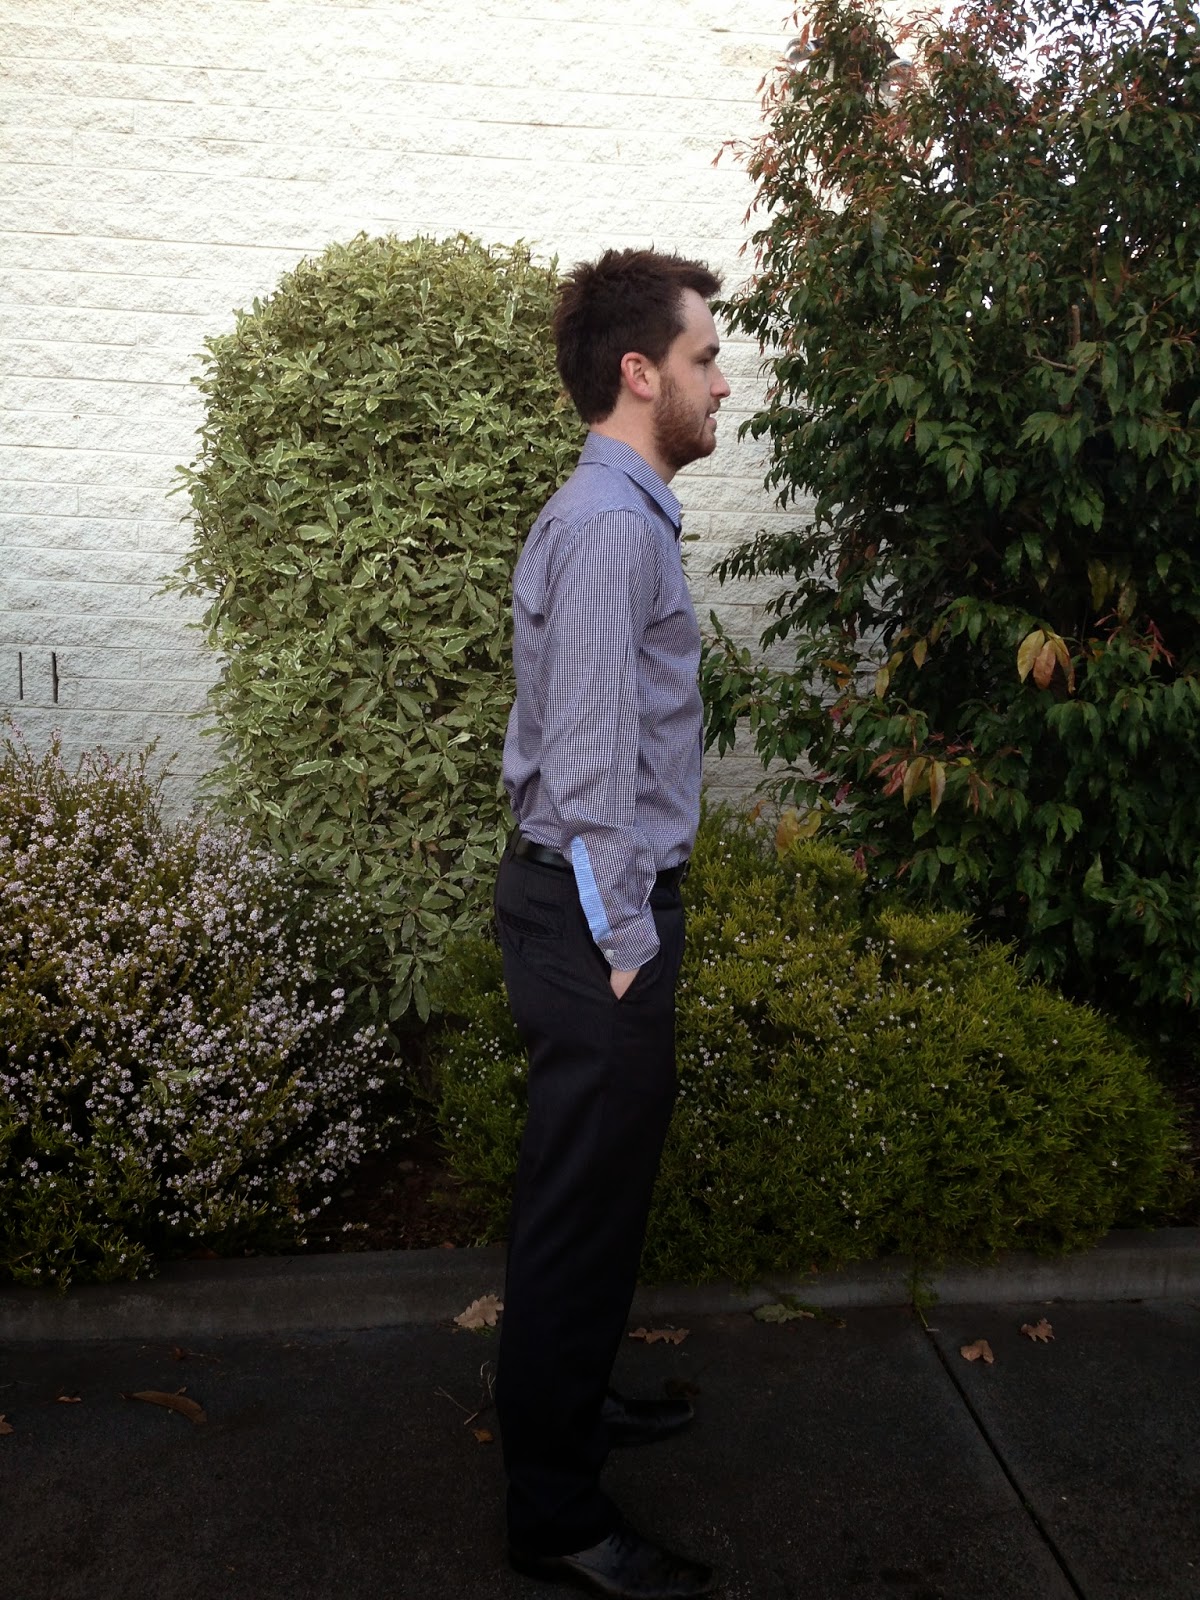
In the mean time I made a wearable muslin out of same navy and white cotton I used for my sleeveless Archer. Yep, we have matching shirts! I used a light blue and white cotton for the contrasting inner yoke, cuffs, under collar and cuff plackets. I got this fabric and the white shirt buttons from an older shirt of Tim's that had worn thin at the collar.


I cut a size Small in Version A and decided against the pockets and the collar button loop. All exposed seams are French and/or foe fell seamed. I followed the instructions exactly and made no changes to the pattern.

Colette Negroni Shirt

Making Archers shirts (1, 2)  put my in good stead for the Negroni, but there were a few major differences in construction/pattern. The Negroni Shirt has a fantastic cuff button placket! The pattern piece is rather scary but well labelled and surprisingly easy to transform into the gorgeous top stitched button placket. The other major difference between this pattern and Archer is that the Negroni has no collar stand and the entire neckline and shirt opening is faced rather then making button plackets. I think this makes for an even easier/quicker sew. However, I think I prefer the look of a structured crisp collar stand and button plackets. I would like to try a few other men's shirt pattern eventually (e.g. Vogue8759).

Colette Negroni Shirt

The fit is pretty good through the body, narrow but with room to eat. The only change I will make for the real thing (patiently awaiting the fabric...) is to take some width out the sleeves and maybe a 1/2" of length.

Colette Negroni Shirt

In addition to the shirt I made Tim another pair of Simplicity PJs Pants. This pair are made from some lovely flannelette I picked up at the Cloth Shop. I sewed this pair identical to the last.

Simplicity Pj Pants

Work shirts and Moose PJ's  - what a well rounded man of 26 years.  Happy birthday Tim!

Saturday 2 August 2014

Sew Indie Interview: Iconic Patterns


Today we're getting to know Lena Merrin, owner and creator, of Iconic Patterns. Another Australian based  indie sewing pattern company. There's more out there then you first think! Lena has released 5 patterns to date, including a FREE cami pattern. Iconic Patterns are incredibly diverse, from sleek work wear (Knot dress and Wiggle skirt) to outer wear and even jeans! There's something for everyone and Lena has kindly offered a discount to readers (see end of post)


Lena, could you tell us a little bit about yourself and the role of sewing and pattern design in your life?
 
My love of sewing and design became apparent very early. As a little girl I had lots of dolls, but I only played with them by swapping their clothes and sewing little dresses.
We were taught sewing at school - and when I say sewing, I mean taking measurements, calculating and drafting a pattern, learning all about a sewing machine and it’s mechanics, etc. These classes were a revelation for me, a whole new world and a beginning of a life long obsession with sewing.
I can’t think  of myself separately from design and sewing. There isn't a day in my life when I am not working on or planning my next project. 

Jess Jeans

When/how did you decide to take the plunge in beginning an indie pattern company?

Before I decided to organise everything properly, I’d often get asked which patterns I used to make my clothes, and my answer was always the same - I draft my own.
So the decision to start a pattern company was organic. You see, pattern company or not, I will never stop designing and drafting new patterns, so why not share them with others? (Yes please!)
 
Thus far you've released one free pattern and four for sale. What's the secret behind your success?

Someone once asked me “would you still be sewing, even if you were not paid for it?” I said “of course!”. Sewing is what I love doing, and when you love your job, you don't count the hours till the end of your work day, quite the opposite - there are not enough hours to get everything done. I have a strong work ethic, I am a super quick learner, I know how to get what I want, and I have very understanding husband who puts up with my obsession.

Wiggle Skirt
 
Could you tell us a little about your design process? How does an idea grow to be a physical pattern?

It all starts with small things - an interesting detail, a colour palette, a photo. Then I start collecting these bits of inspiration and organising them, creating a collection. One day I just know what it is going to be - the idea comes and I start sketching until I find a perfect combination, capturing the idea. After this I draft a pattern and sew it several times, working out the small details, order of construction and difficult points. Then I try a garment on a model and work out possible fit problems. I also sew a sample for myself and wear it - some issues become apparent only after I’ve worn a garment several times. After this a pattern goes to a professional pattern grader, who checks every single notch and seam and makes sure it is flawless.  And after this I finish the pattern myself: I draw illustrations, write instructions, etc, etc, etc.
 What is the inspiration behind your patterns? 

My current collection is inspired by vintage fashion. In saying that, I didn’t want it to be very literally vintage: many elements are borrowed from a bygone era, such as silhouette of my wiggle skirt, an a-line cut of Jackie coat, a bow tie on my blouse and an elegant neckline drape of the dress. At the same time I wanted to keep it fresh, so I added very modern skinny jeans and a camisole. An unexpected combination of seemingly contradictory clothes have always attracted me, this is how unique personal style is created.

Jackie Coat
 What have you learnt throughout your career and what advice would you give home sewers and wannabe pattern designers?

What I’ve learned is that you shouldn’t be afraid of failure. A failure is something to embrace. We all make mistakes and get into difficult situations. The only difference between a novice sewist and an experienced one is that the seasoned sewist can see some possible problems far in advance and has more tricks up their sleeve to save the situation. Often you have to fail to learn.
 
Any hints about what's next to come from Iconic Patterns?

I have just released a much anticipated dress pattern and out next is a bow tie chiffon blouse (I think I heard some readers shriek at the word “chiffon” haha). Don’t worry, I put so much information in my sewing instructions, that you’ll be able to sew anything and get a very presentable result, even with chiffon.

Knot Dress
 
Thank you so much, Lena. What a wonderful opportunity to gain such a fundamental understanding of sewing and pattern design in your schooling. I, like most of us, simply received the "how to sew a calico drawstring bag" and pyjama pant lessons. I'm incredibly jealous, but glad these lessons set you up (along with a lot of hard work afterwards) to be able to provide such interesting and diverse patterns. I'm very excited about the new Knot dress (line drawing above), the bodice gorgeous! 

There is currently an Iconic Patterns Jackie Coat Sewalong being run by Janelle of and Maria. Their posts have been incredibly detailed thus far and have included some great coat variations as well. I plan to sew along (I'm just a little behind) and there is still time to join in!

 
Lena has generously offered a 15% discount code ("sewnbyelizabeth15") on Iconic Pattern products excluding the newly released Knot Dress and the Jackie Coat. Discount is valid until 16 of August 2014 and can also be used to purchase Lena's e-books and files.